-
May 31st, 2016, 06:17 AM
#301
Senior Member

- Rep Power
- 12
 Re: Custom Bag
Thanks Hawk
I have considered adding all sorts of additions to these cases but as I plan on selling the case then I might add something that would put off potential buyers.
However if someone wanted to buy the case I could add any extra items they wanted as long as the case was not finished.
-
-
June 11th, 2016, 07:07 AM
#302
Senior Member
- Rep Power
- 12
-
The Following 4 Users Say Thank You to MY63 For This Useful Post:
amk (June 23rd, 2016), Crazyorange (June 11th, 2016), Mr. Reader (June 15th, 2016), mrcharlie (June 13th, 2016)
-
June 15th, 2016, 10:27 AM
#303
Senior Member
- Rep Power
- 12
Re: Custom Bag
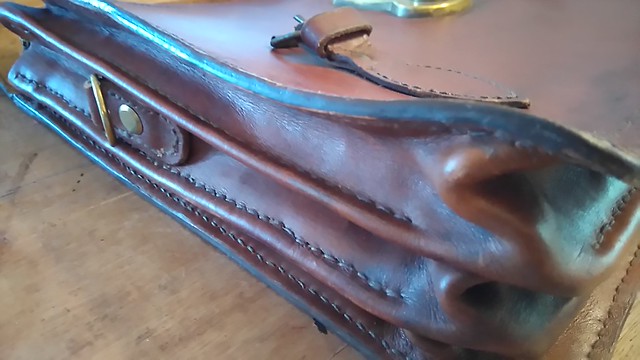
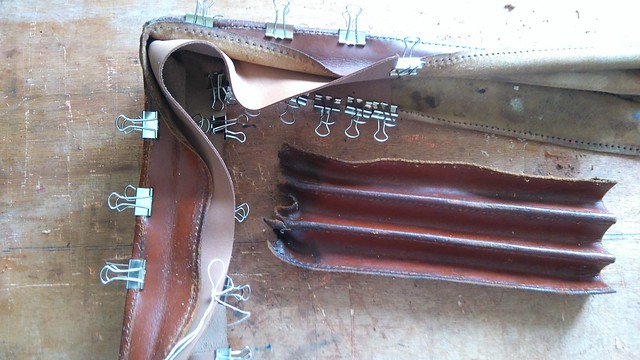
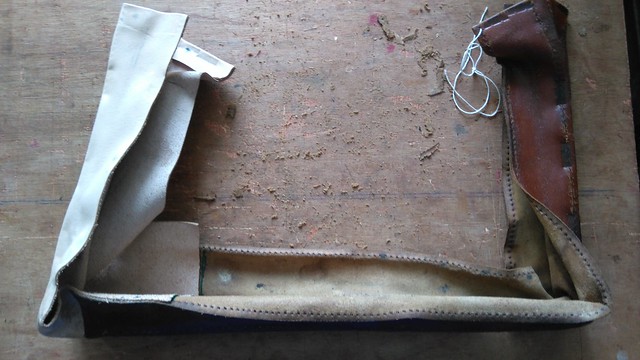
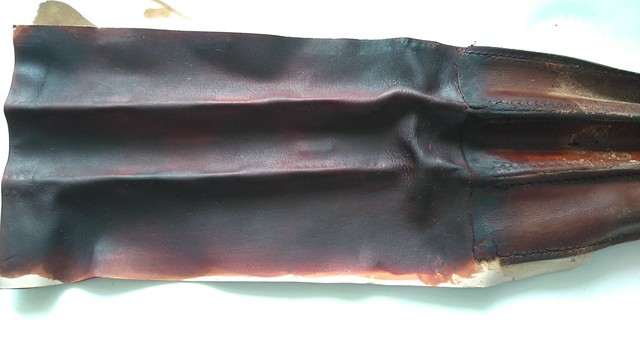
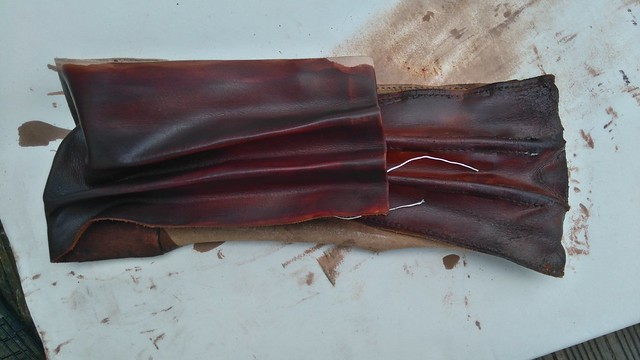
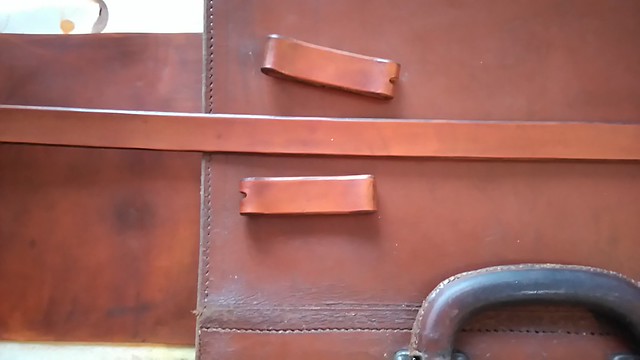
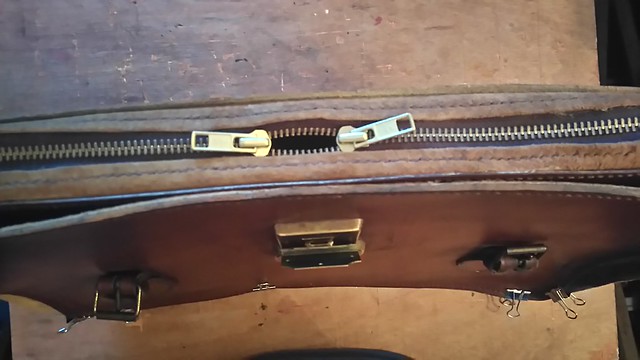
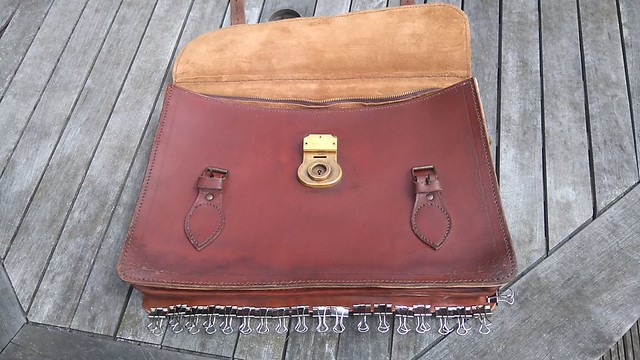
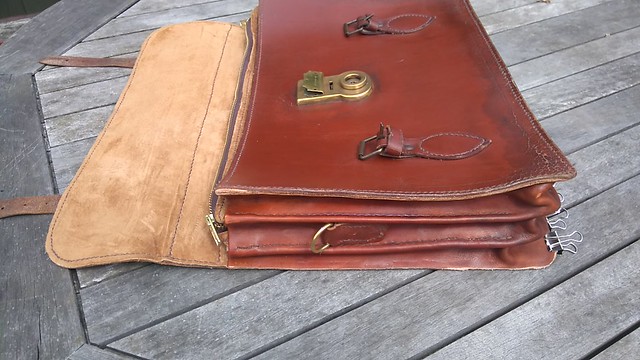
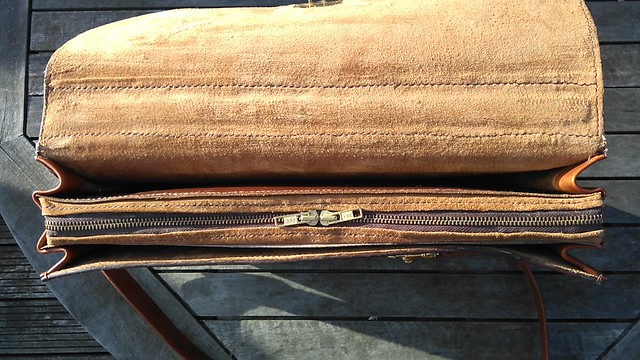
As you may know I share good and bad I am not too happy with the way the gusset piece has turned out.
The colour is not quite right but I think I could live with that.
I don't like the joint in fact I really don't like the joint I have decided to fit a strap and as it will attach to the gusset then the gusset needs to be as strong as possible.
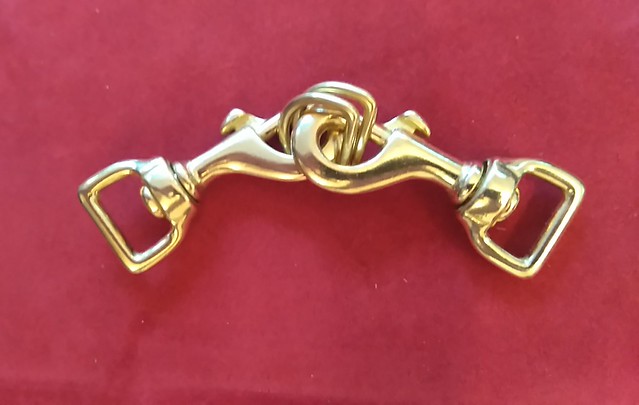
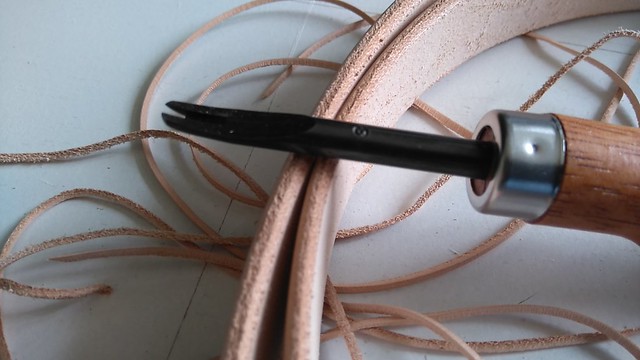
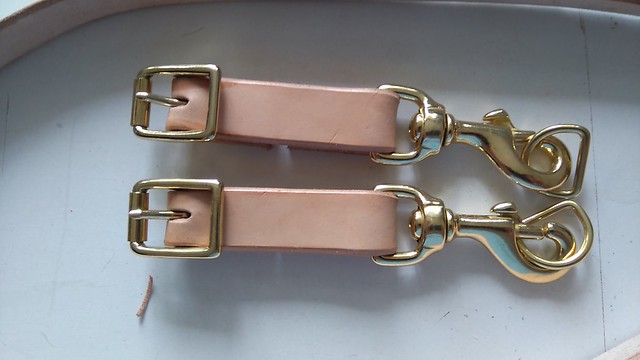
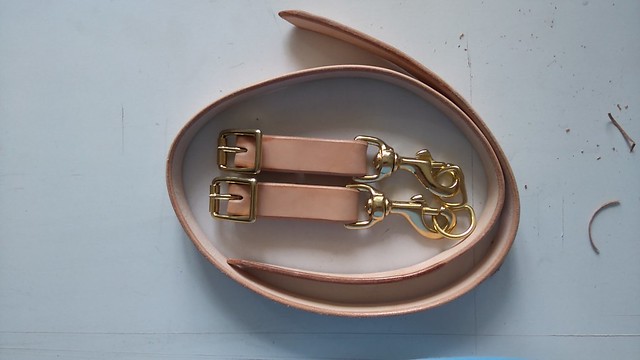
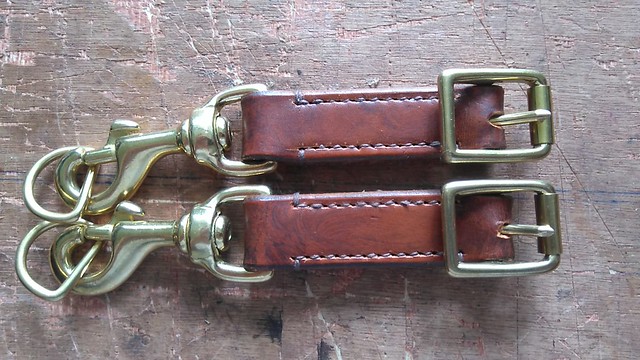
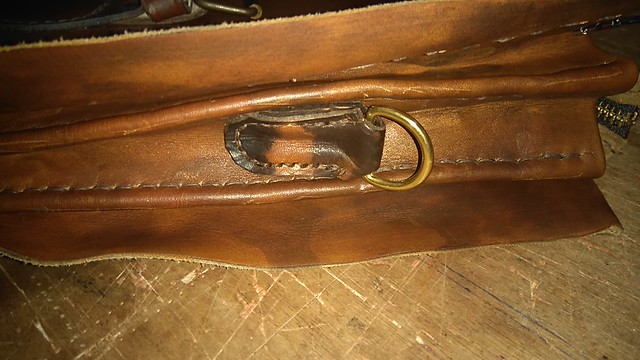
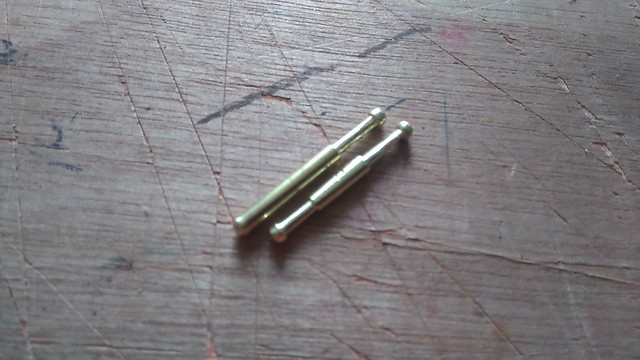
I have purchased a suitable hide from which I can make a replacement gusset this is quite an expensive option as leather is only available by the hide so many £££s have been spent. I have also ordered some smaller buckles and "D" rings to make the shoulder strap.
Replacing the gusset will also allow me to add a little space to the centre compartment to allow the zip to fit better.
-
The Following User Says Thank You to MY63 For This Useful Post:
Crazyorange (June 16th, 2016)
-
June 16th, 2016, 01:36 AM
#304
-
The Following 2 Users Say Thank You to SIR For This Useful Post:
Mr. Reader (June 16th, 2016), MY63 (June 16th, 2016)
-
June 16th, 2016, 03:06 AM
#305
Senior Member
- Rep Power
- 14
-
The Following 7 Users Say Thank You to amk For This Useful Post:
carlc (June 16th, 2016), Crazyorange (June 16th, 2016), Hawk (July 5th, 2016), Mr. Reader (June 16th, 2016), mrcharlie (June 17th, 2016), MY63 (June 16th, 2016), scrivelry (June 16th, 2016)
-
June 16th, 2016, 01:19 PM
#306
Senior Member
- Rep Power
- 12
Re: Custom Bag
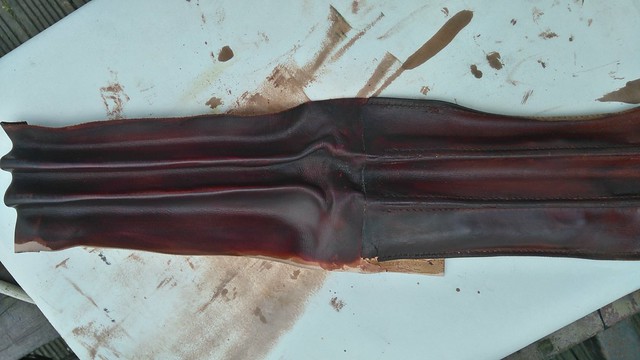
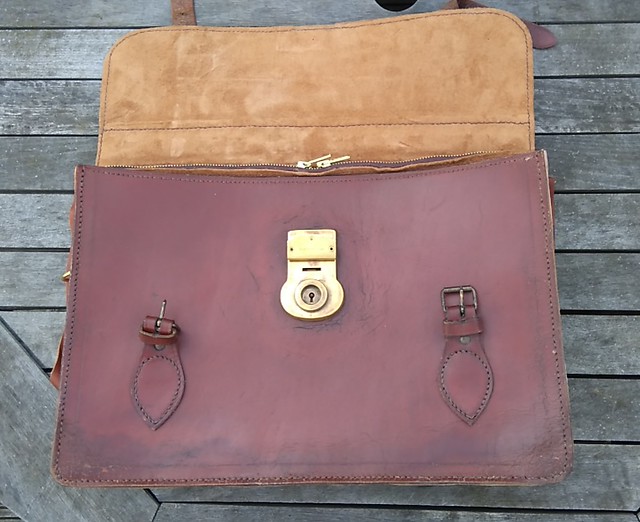
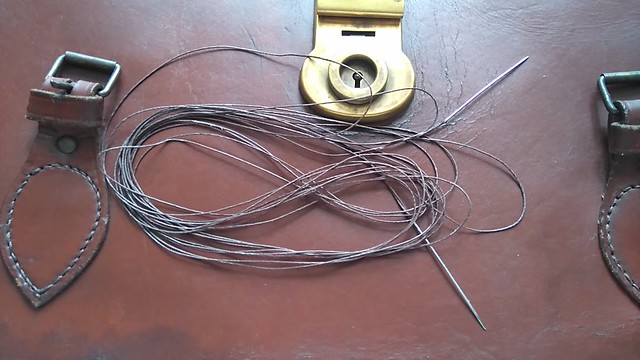
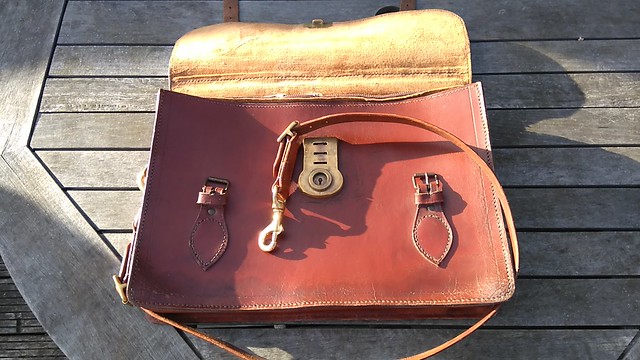
Thanks Sir I think I went a little too red in the colour it would have been very easy to continue the dye all over the case and say nothing but my idea with these cases is do replace as little as possible. That red material looks like embossed velvet it might be difficult to find sufficient quantities. To line the inside of this case took 18 square feet of suede.
Nice work Amk although I am a little worried about you breading your thread hand sewing thread for leather needs to be very strong and is eye wateringly expensive.
Most leather workers get quite obsessive about thread and stitching your first effort looks good to me.
-
-
June 17th, 2016, 06:12 AM
#307
Senior Member
- Rep Power
- 14
Re: Custom Bag
Re the thread breaking, I think what I was doing was managing to stitch through the thread with the second needle. It's good strong linen thread but of course if you divide it into little bits it breaks.
Thanks for the kind words Michael!
-
The Following User Says Thank You to amk For This Useful Post:
-
June 20th, 2016, 10:44 AM
#308
Senior Member
- Rep Power
- 12
-
The Following User Says Thank You to MY63 For This Useful Post:
Crazyorange (June 20th, 2016)
-
June 21st, 2016, 03:27 PM
#309
Senior Member
- Rep Power
- 12
-
The Following 5 Users Say Thank You to MY63 For This Useful Post:
amk (June 23rd, 2016), Crazyorange (June 26th, 2016), Hawk (June 21st, 2016), morningtundra (June 28th, 2016), mrcharlie (June 21st, 2016)
-
July 2nd, 2016, 03:37 PM
#310
Senior Member
- Rep Power
- 12
-
The Following 2 Users Say Thank You to MY63 For This Useful Post:
Crazyorange (July 2nd, 2016), Hawk (July 2nd, 2016)
-
July 5th, 2016, 12:22 PM
#311
Senior Member
- Rep Power
- 12
-
The Following User Says Thank You to MY63 For This Useful Post:
Crazyorange (July 5th, 2016)
-
July 5th, 2016, 05:22 PM
#312
Junior Member

- Rep Power
- 0
Re: Custom Bag
Wow, Michael,
That is starting to look really nice!!
-
The Following User Says Thank You to davegt For This Useful Post:
-
July 7th, 2016, 02:36 PM
#313
Senior Member
- Rep Power
- 12
-
The Following 2 Users Say Thank You to MY63 For This Useful Post:
amk (July 12th, 2016), Crazyorange (July 11th, 2016)
-
July 9th, 2016, 04:07 AM
#314
Senior Member
- Rep Power
- 12
-
The Following 4 Users Say Thank You to MY63 For This Useful Post:
amk (July 12th, 2016), Crazyorange (July 11th, 2016), Hawk (July 9th, 2016), Pelikan-Vera (July 9th, 2016)
-
July 9th, 2016, 12:11 PM
#315
Senior Member
- Rep Power
- 12
-
The Following 3 Users Say Thank You to MY63 For This Useful Post:
amk (July 12th, 2016), Crazyorange (July 11th, 2016), morningtundra (July 11th, 2016)
-
July 12th, 2016, 11:12 AM
#316
Senior Member
- Rep Power
- 14
Re: Custom Bag
Always amazing to see how these ugly ducklings are transformed in your expert hands! What an inspiration.
I've been spending the day in my workshop repairing a picture frame that I found in four pieces for 50 cents (really nice veneer with a carved interior section), and a three euro mirror frame that had been painted with horrible, horrible orange and turquoise gloss paint. Now I've stripped the paint off I can see the detail of the plaster work, and crikey! it's gorgeous! Lovely acanthus leaf work. Going to buy some red bole and gold leaf to finish them off, instead of using metallic paint, because I reckon these two deserve it.
-
The Following User Says Thank You to amk For This Useful Post:
-
July 12th, 2016, 01:42 PM
#317
Senior Member
- Rep Power
- 12
Re: Custom Bag
Thanks AMK gold leaf is something I have been looking at for sometime now along with bookbinding
I don't dislike finishing edges they just take a lot of time and although I am not a perfectionist honest I am not (well maybe a little).
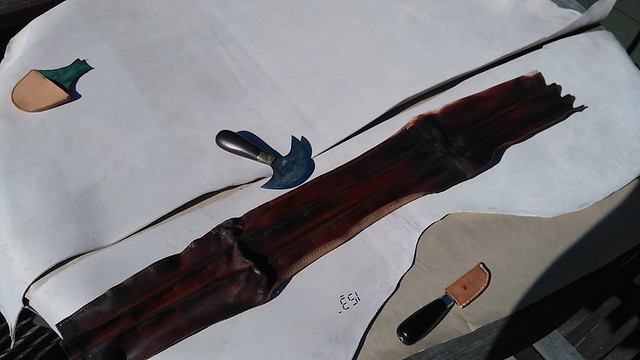
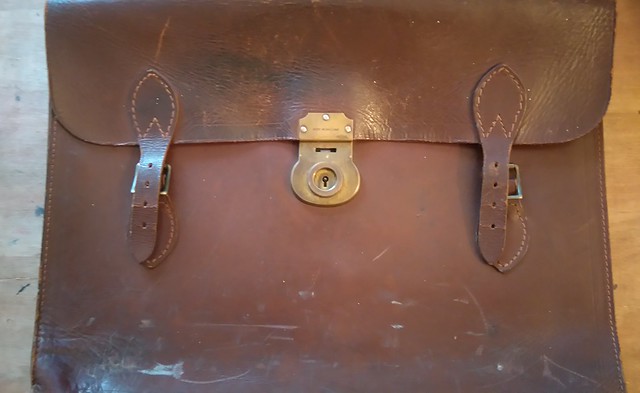
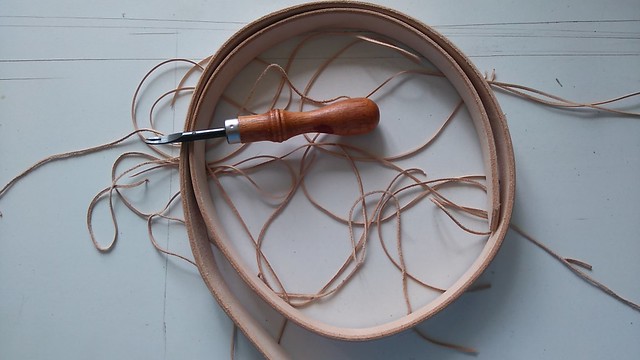
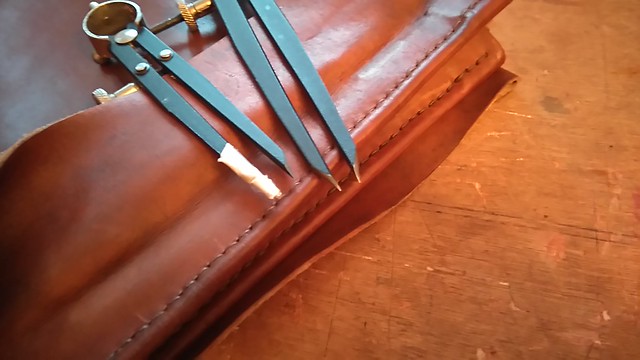
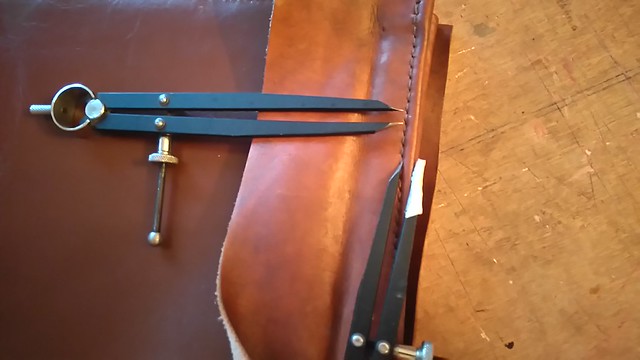
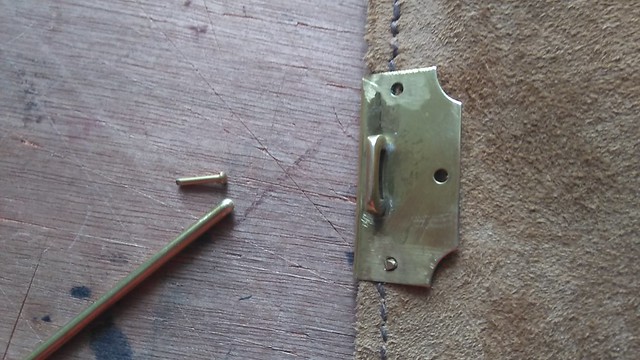
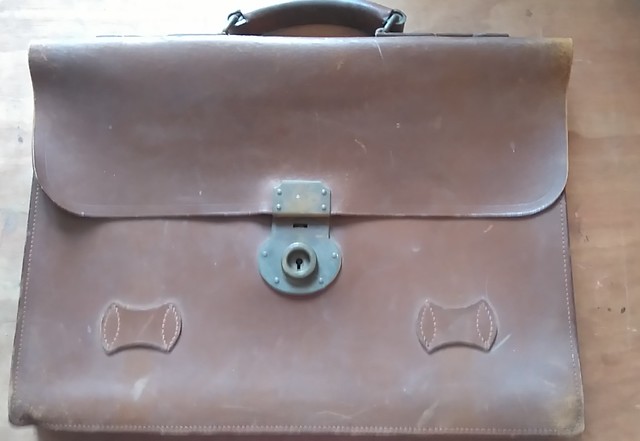
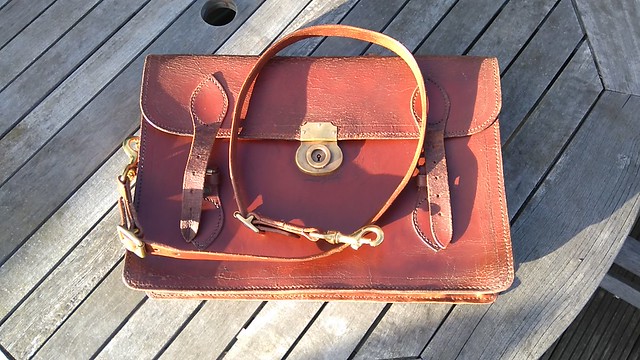
I started by sanding the edges where all of the pieces are sewn together. There was a lot of sanding to do.
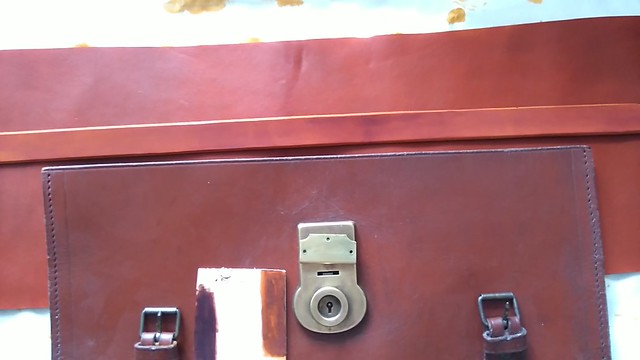
After the sanding I finished the edges with leather edge kote which is available in many colours including brown which is what used here.
Unfortunately I did not like the end result it looked too new if that makes sense. Which meant even more sanding to remove the edge kote that I had applied. On a positive note the edges were slightly darker after the edge kote was sanded and I have achieved a satisfactory result by sealing them with beeswax
 DSC_0528[1] by my0771, on Flickr
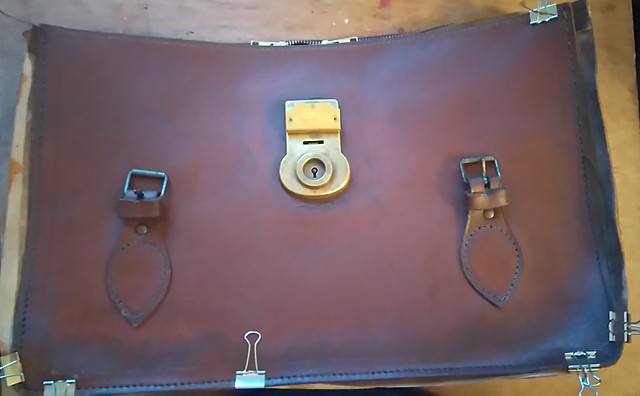
After a few more hours the edges will be finished and it will be time to post it on the classifieds.
Thanks for looking
Michael
-
The Following User Says Thank You to MY63 For This Useful Post:
Crazyorange (July 14th, 2016)
-
July 13th, 2016, 02:01 PM
#318
Senior Member
- Rep Power
- 12
-
The Following 2 Users Say Thank You to MY63 For This Useful Post:
Crazyorange (July 14th, 2016), Hawk (July 13th, 2016)
-
July 20th, 2016, 07:30 PM
#319
Senior Member
- Rep Power
- 9
Re: Custom Bag
Gorgeous work MY63! Very impressive!
-
The Following User Says Thank You to mandrbeck For This Useful Post:
-
July 23rd, 2016, 02:55 PM
#320
Senior Member
- Rep Power
- 12
Re: Custom Bag
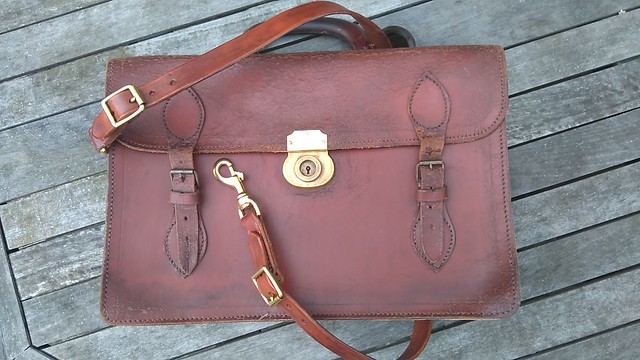
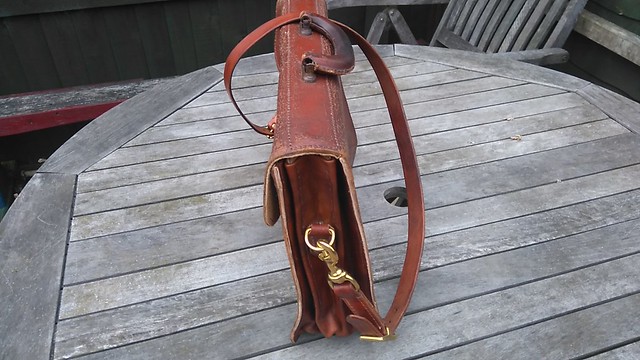
If anyone was wondering why the briefcase above has not appeared in the classifieds section no I have not sold it I forgot to make a liner for the bottom of the pocket so once I have done that I will advertise it.
-
 Posting Permissions
- You may not post new threads
- You may not post replies
- You may not post attachments
- You may not edit your posts
-
Forum Rules


 Reply With Quote
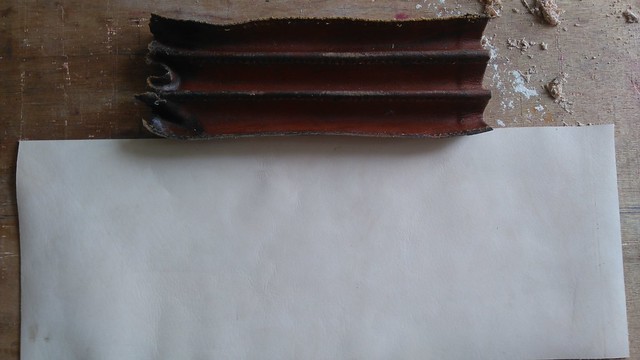


Bookmarks