
I look forward to seeing the finished box. A writing slope is yet another item on my long list of projects that I'll probably never get around to doing (like the Gerstner type tool box).


I look forward to seeing the finished box. A writing slope is yet another item on my long list of projects that I'll probably never get around to doing (like the Gerstner type tool box).
Thanks Andy
I will be ordering hinges from your link tomorrow and I will post pictures of the writing slope as it progresses.
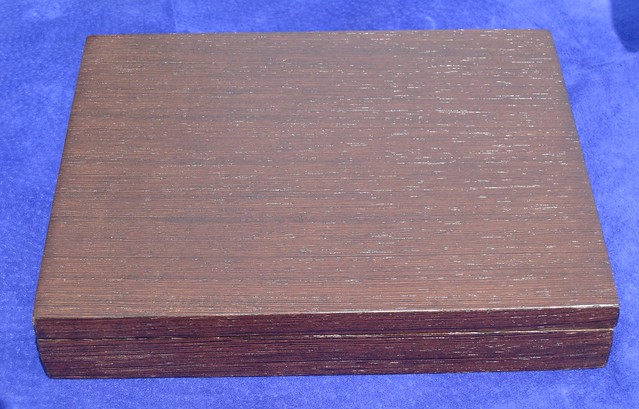
In the mean time here is my latest project my first box made for sale rather than to order.
IMG_3937_1 by my0771, on Flickr
IMG_3942_1 by my0771, on Flickr
Thanks
Michael
Andy I have also been looking at those Gerstner type boxes for some time now I have watched many on the auction sites the only ones in my price range end when I am not around.Originally Posted by AndyT

The writing slope hinges arrived today they are a little short but I will just re veneer those edges
IMG_3949_1 by my0771, on Flickr
They are very high quality and look the part at least I can finish this box now.
Regards
Michael
I'm glad they turned out to be suitable Michael. Talking of veneer, what did you use on the six pen pox above?
Making a Gerstner type box has been on my mind for years since I first found out about them, a fairly straightforward but long winded project that I've never found the time for. All the recent discussion here brought it back to mind, but it's no more likely to come to fruition.
Hi Andy
The veneer is wenge it is one of my favourites you must respect it though it splinters easily when you are working with it and can go septic very quickly, you should wear a mask when sanding as the dust is pretty nasty.
I don't want to make a Gerstner type box I want a wreck that I can restore and adapt for pen storage.
That little box is for sale somewhere else.
Mmm, wenge splinters - my favourite! I'm pretty sure there's still a bit of one still embedded in my finger from years ago. But as you say, it's a fine looking timber.
I have dug out a few recently, Wenge takes wax well and looks great I have a couple of projects nearing the finishing stages at the moment so I am on the look out for one of those tool boxes.
This is going to be a jewellery box I have a four way book match of Chilean laurel that I have had stashed away for a special job I do have two sets of this but then one I am planning to use is really nice
IMG_0524 by my0771, on Flickr
Looking forward to more pictures.
Thinking about it, in all my time in the furniture trade and occasionally hanging around engineers' workshops, I'm pretty sure I've never seen a Gerstner type box. Plenty of big trunks like seaman's chests though. I guess the style is more of an American thing.
When I started my apprenticeship in the 80 s lots of the fitters and turners had them for micrometers and such these were expensive items we were not allowed to touch them for at least a year I think the only thing I operated outside of college in the first year was the kettle
I remember when old guys retired there would be guys wanting to buy the tool box then others waiting to inherit their locker( the old timers had big double lockers) everyone else had tiny little grey tin cans.
Sad eh!
I thought I would give you an update on my NESSR charity box.
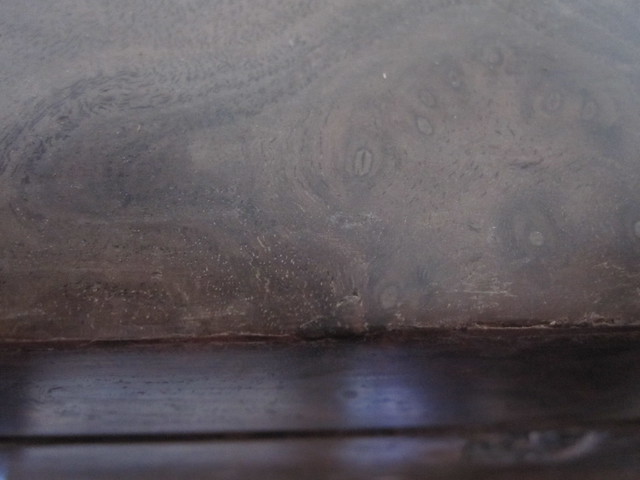
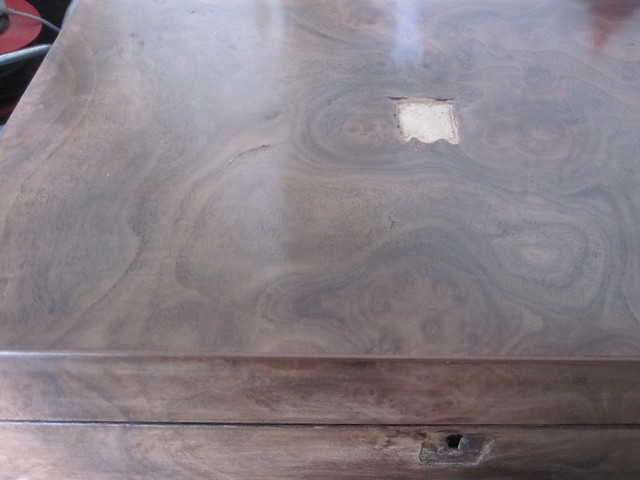
Where the walnut veneer met the front piece of veneer I had problems with the veneer chipping
IMG_4116 by my0771, on Flickr
I fixed many of the chips I spent a day repairing them it looked ok but it was not good enough
IMG_4135 by my0771, on Flickr
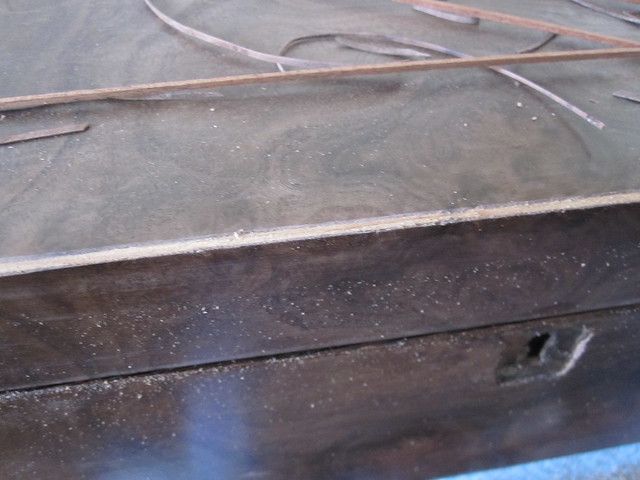
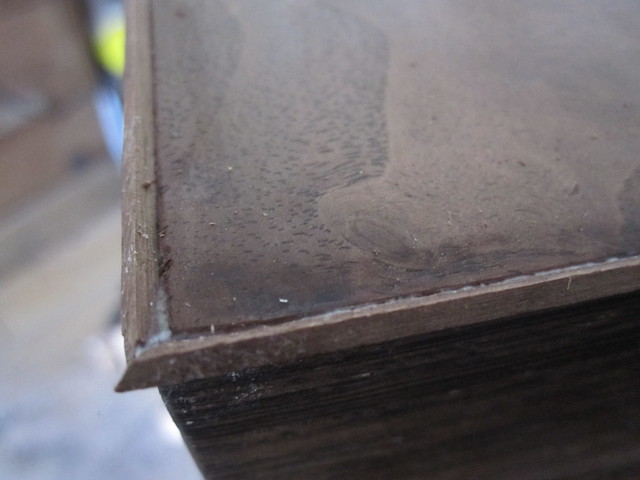
The alternative is to remove the edge around the top to 45 degrees and replace it with solid wood 1.5mm square a deep breath is needed here this box is almost finished to take the edge off was a big step.
IMG_4147 by my0771, on Flickr
The edging strip shown in the picture above was too red and I replaced it with a better colour
IMG_4151 by my0771, on Flickr
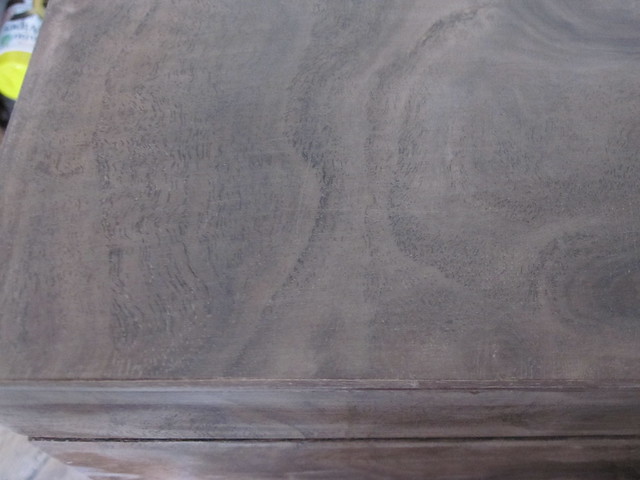
When you attach the edging to the box you have to cut the mitres with the edging on a 45 degree angle like a diamond shape.
Once glued in place on all four edges you have to sand most of it off being careful not to sand through the veneer.
IMG_4167 by my0771, on Flickr
IMG_4173 by my0771, on Flickr
This is the edging complete.
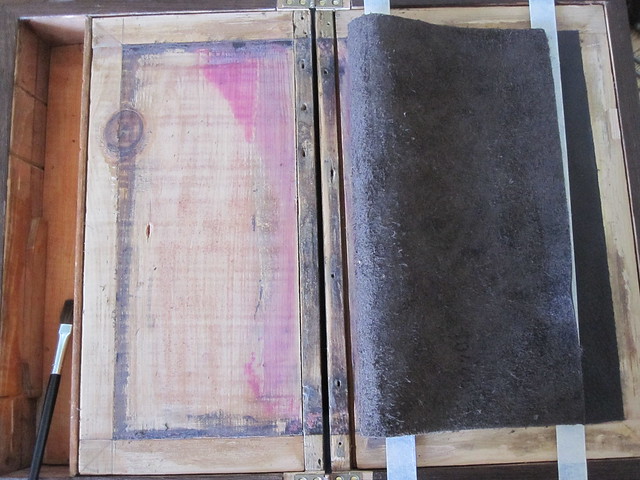
Here you can see the repaired writing leaves and the replacement hinges I have also added the leather skiver the edges will be wenge but it needs to be double thickness.
IMG_4138 by my0771, on Flickr
Thanks for looking
Michael
AndyT (July 10th, 2013)
Nicely done Michael! Ah, the joys of repairing walnut veneer.
MY63 (July 10th, 2013)
Michael - Just finished reading this thread from front to back. Beautiful work all around. You have a great deal of patience and skill!
Thanks for taking the time to post all these wonderful pictures and commentary.
MY63 (July 10th, 2013)
Does that mean you have done this before Andy ?
If so I am having problems with shellac sanding sealer the first contact between cloth and wood the sealer goes very deep and dark leaving a dark patch when dry any ideas.
Michael
Hi Michael, yes I've done quite a lot of work with walnut veneer but usually in a context where somebody else was doing the finishing! And that was with a catalysed lacquer which behaves rather differently. If you already have a dark patch you might be able to flood the shellac out with meths - it certainly won't do any harm to try.
If you're going for a natural colour, likely the best plan would be to give it a couple of thin coats of white polish applied French polishing style with a rubber as a sealer, then you can fill, de-nib and proceed as usual. Probably the most important thing with walnut is cleaning up the veneer in the first place, scraping and hand sanding down to the smoothest finish you can possibly manage. When I served my apprenticeship we were required to finish mahogany curls by going over them with the back of the sandpaper in little circular movements, using the dust as an abrasive - if that sounds like torture I can assure you that it feels like it too. It does work well though. It's also standard practice to raise the grain with a wet rag a few times. Of course, the thing to keep a constant eye out for is taking the veneer down too thin, especially at the edges and corners.
Hope that might help.
Andy I have to be honest this is my third writing slope I have worked on.
I enjoy working with veneer so far I have learnt from books and you tube, On this slope the veneer was patchy colour wise so I used rugger brown wax to even out the colour.
I am happy with the colour when I have used French polish in the past I tend to get lines more pronounced on lighter woods.
I tried using boiled linseed oil to make the rubber move easier.
I think I now understand the principles of sealing and filling grain to get a flat surface and then smoothing it to make it shine.
I am using shop bought polish I was thinking it might be good to thin it out a little ?
What do you think
Michael
I'm very much the chisel man, Michael, so what meagre knowledge I have about polishing is second hand. If memory serves, you should not use oil for the first few layers, and you should work with fairly heavy pressure - the rubber will drag quite a bit. Thereafter, oil should help a lot - the guy who showed me all this used 3-in-1 and just flicked a little onto the surface, and I'm pretty certain that he did thin his polish out somewhat, especially the final coats. The really magical part seems to be the spiriting off which gets the last off the oil off and imparts that glassy shine, but that's mostly a matter of feel I'm sure.
Incidentally, white polish followed by a coat of paste wax is a very popular finish with bespoke cabinetmakers - no French polishing skills required, just a light denibbing between thin coats put on with a brush.
Thanks Andy
Pressure is one area where I have a problem I was trying to use as little pressure as possible.
I will definitely have a go at thinning out the polish a little I think that when I have used it the polish may have evaporated a little.
Is denibbing between coats a light sanding or am I on the wrong track? what type of brush would you use?
I need to make another box now to try this out.
Thanks
Michael
You're welcome Michael, glad if it was helpful.
Denibbing is not much more than taking the shine off and providing a key for the next layer to stick to. For French polish I think fine wire wool is generally used, whereas for the white polish or a catalysed lacquer it's a fine open coat abrasive paper. Those foam backed pads are good, about 240 - 400 grit. You need to work with a light touch and once again it's easy to go back to bare wood at the edges, so steady away.
I'm not what you'd call a natural with brushes! What I do know is that it's worth paying a little more for decent ones which won't start moulting halfway through the job. There are also special brushes with synthetic bristles which are designed specifically for lacquer, so that might be the way to go. If you can get hold of some offcuts of veneered board from a local joiners' shop it would be well worth experimenting and getting a feel for how the polish flows.
I see what you mean Andy I will look at brushes for French polish I have 0000 wire wool, I might struggle with the light touch I know all about rubbing through veneer.
I have saved up my off cuts of veneered ply so I will add some different veneers that I use and make up some sample boards to practice on.
Thanks
Michael
I had a self imposed deadline for the NESSR charity box which I am sad to say I missed.
I have had quite a bit of down time lately so I have been doing little tasks
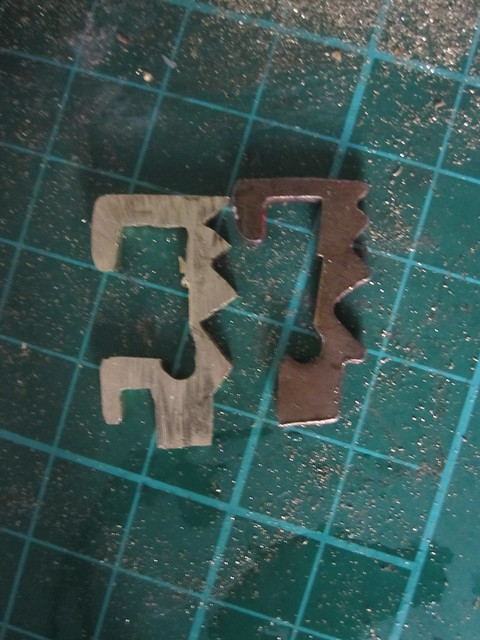
I made a replacement part for the NESSR box lock.
IMG_4209 by my0771, on Flickr
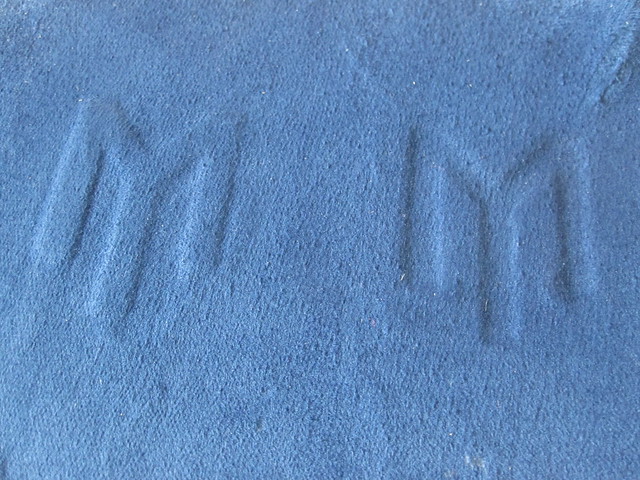
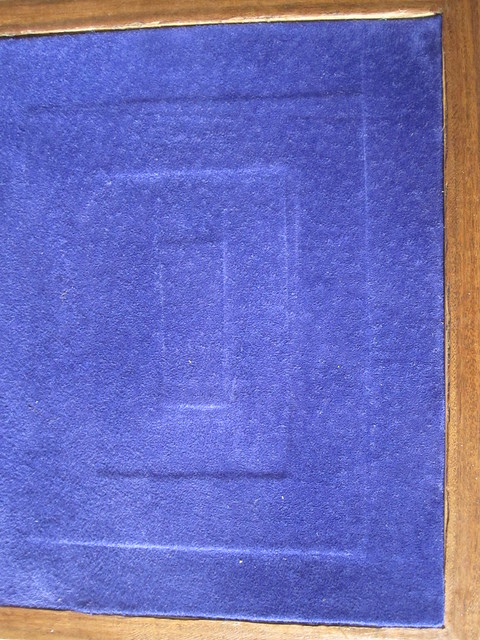
I have also been messing around with my initials like a logo type thing.
IMG_4211 by my0771, on Flickr
IMG_4219 by my0771, on Flickr
IMG_4224 by my0771, on Flickr
These are my latest projects
Thanks for looking
Michael
 Posting Permissions

 Reply With Quote
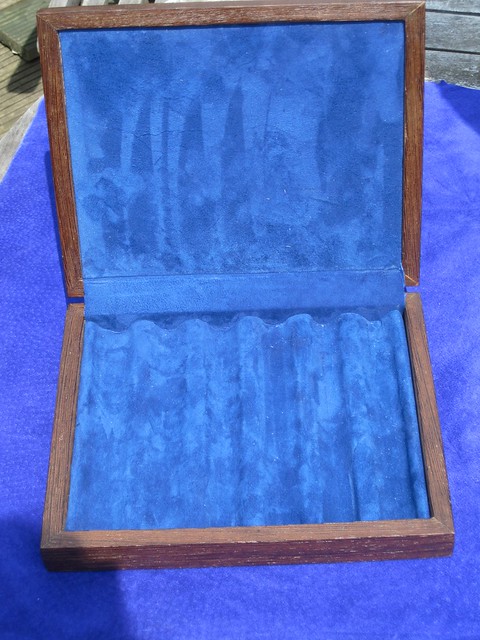


Bookmarks