


I take a lot of photos of my pens, both to sell and to catalog. One of the most frustrating things about taking pictures is getting a clear, crisp picture with great lighting free of blown out highlights and shadows that hide detail. One simple, and cheap solution is to make your own light box.
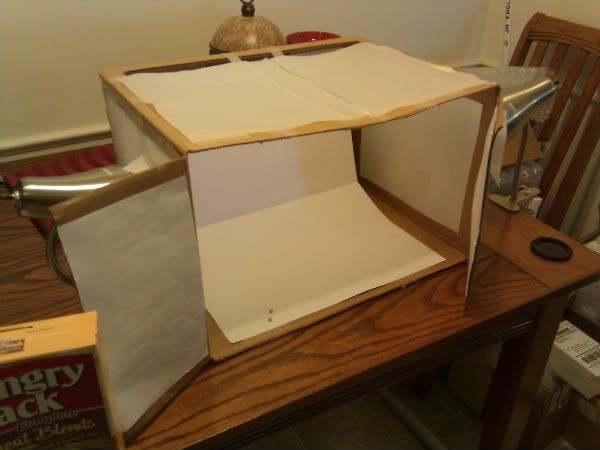
To start, find a cardboard box of at least 12" per side. The larger the box the better as it will help create a more evenly lit environment. Use tracing paper to diffuse the light coming in. Simply cut out the sides of the box but make sure to leave enough to make the box stable and allow something to tape the tracing paper to.
Next, I cut off two of the flaps, usually the top and bottom, and leave the sides. If you want, you could probably leave the bottom flap so you don't have to use the extra sheet of paper shown in my pictures.
After you remove the top flap tape some paper to the inside of the remaining flaps to help reflect light to the front of your subject.
I also use a large sheet of paper and tape it to the top of the back panel and let it act as a back drop for the subject.
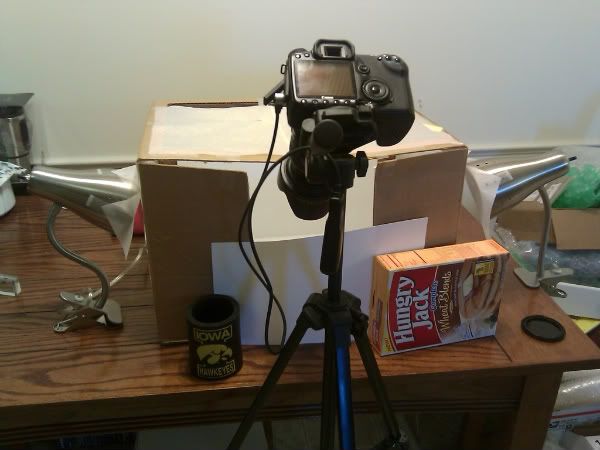
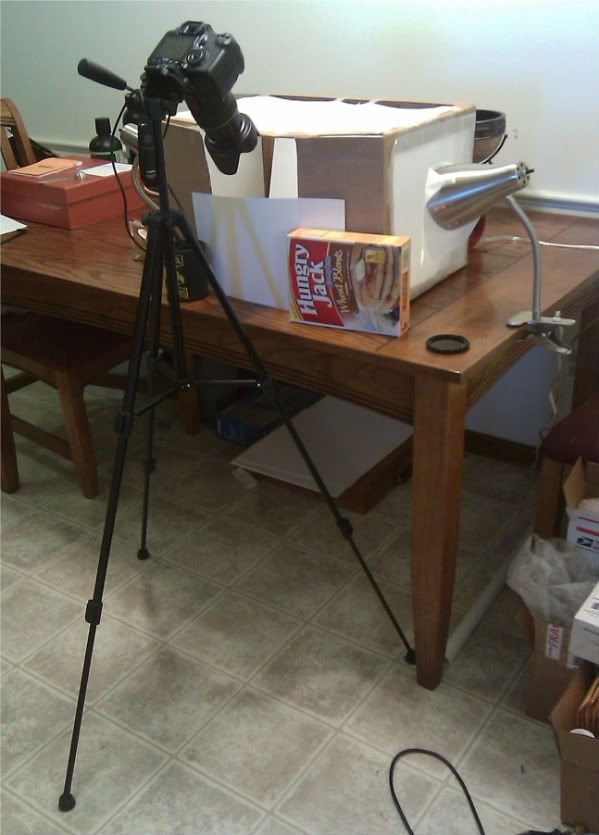
For lighting I use two 60 watt lamps on each side of the box. I got the lamps at Home Depot for about $18 each (including bulbs). I taped tracing paper over the lamps to help diffuse the light even more. I noticed this really helped to reduce some of the hot spots I was getting. You can use lamps that you already have, just make sure they have the same bulbs in them so one side isn't brighter than the other and to keep color temperature the same.
The final step is setting up the camera. I highly suggest the use of a tripod with a remote release. I shoot at ISO 100 at f/6 - f/12 which can result in a 1+ second exposure time, so a tripod and remote release are mandatory. If you don't have a remote release or you use a point-and-shoot you can put the camera in time delay mode. Time delay causes the camera to take the picture after so many seconds (usually 5-10sec) after you've pushed the shutter release.
Some experimentation will be required depending on your environment and equipment, but this is a good starting point.
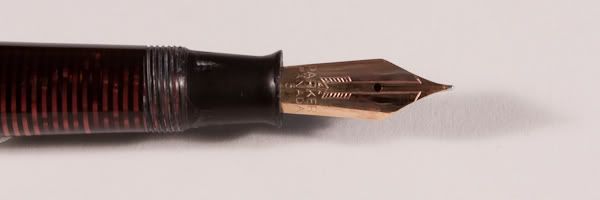
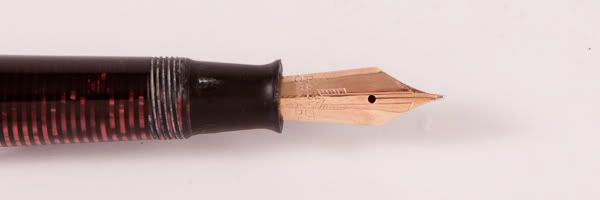
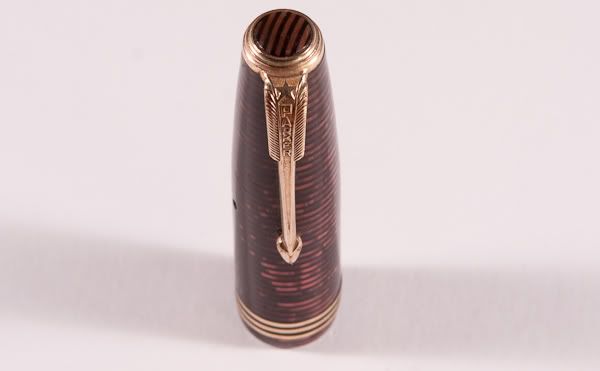
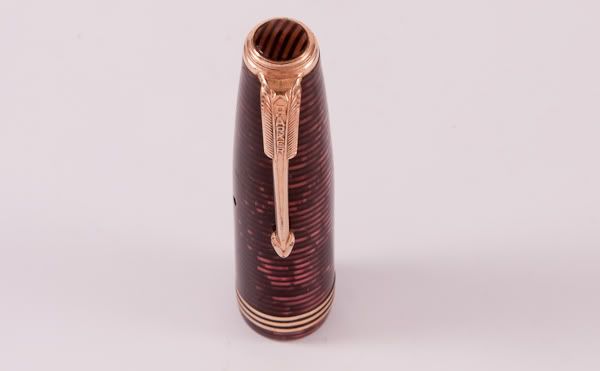
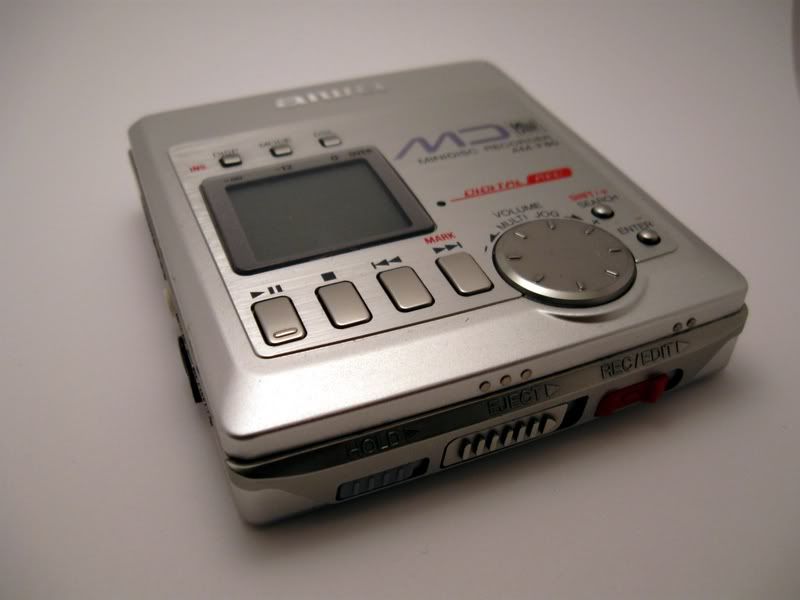
The biggest difference I find that the light box makes is helping to reduce blown out highlights, reducing shadows made by the object you're photographing, and creating a more evenly light subject. Here are a few before and after shots so you can see what I mean.
Before:
After:
Before:
After:
Before:
After:


 Reply With Quote
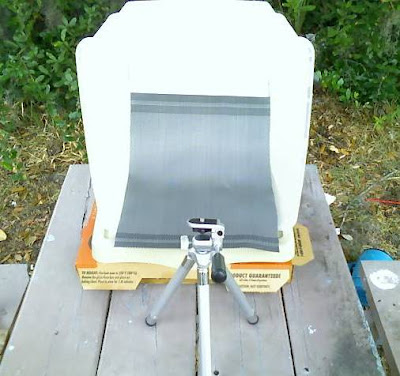


Bookmarks